Tuesday, August 12, 2014

Reclaiming the Planter Box: Part Two

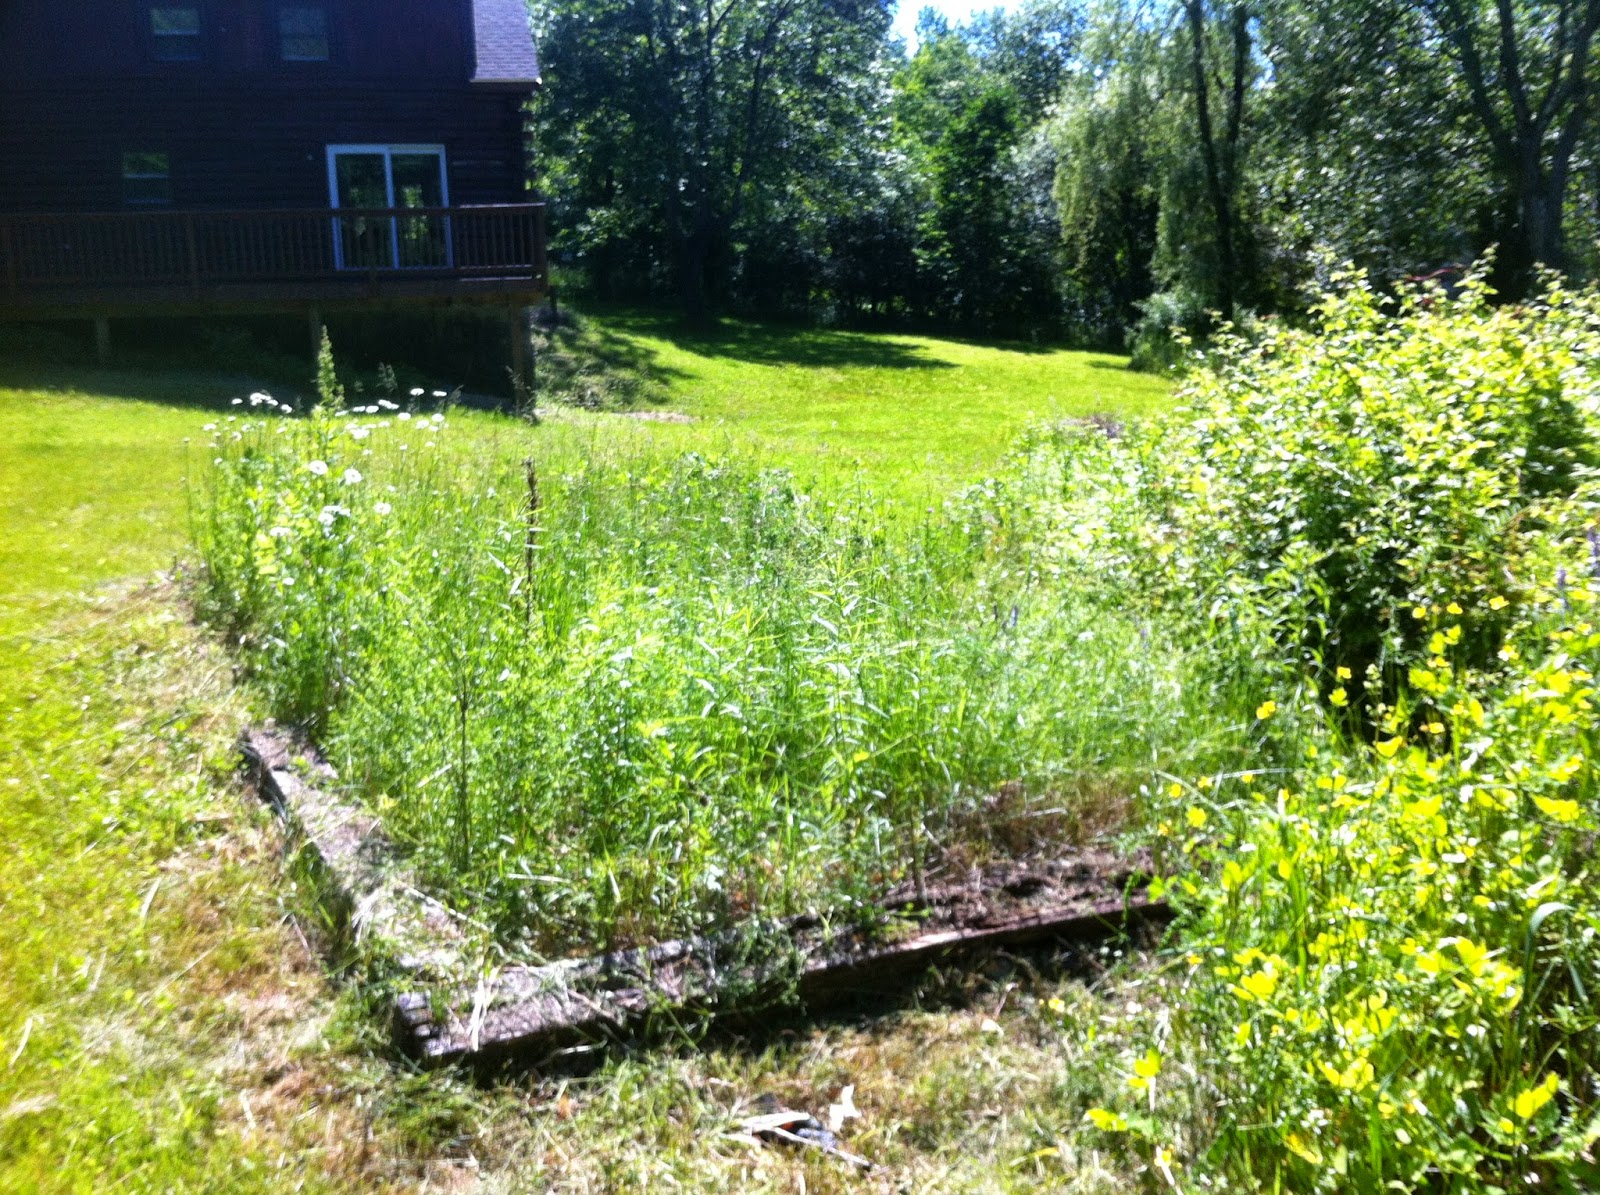
When I began pulling up the weeds that had overtaken the planter box in my new back yard, the intent was to pull up everything and start again from scratch. However, as I got further in, there were some plants I found that interested me. There were some huge red clover plants, which my bunnies love to snack on. I found some stray morning glories, which are one of my favorite types of flower. There were also some plants I could not immediately identify.


Vicia cracca

The first one was a vine that sprouted tufts of purplish-blue, tiny, bell-shaped flowers. As I was working, bumble bees and monarch butterflies would land to feed on the nectar, mere inches from my head. It brought a smile to my face every time. After some research, I found out it was Vicia cracca, also known as cow vetch or bird vetch. It's used to feed some forms of livestock and increase their milk production. I don't have any animals of this type yet, so it serves me little practical purpose. I decided to leave it anyway, because of the insect life it attracted. We also caught a glimpse of a hummingbird once. I want to encourage these lovely pollinators to keep returning to my property.


Galium asprellum

Another one that caught my interest wasn't anything special visually. When I pulled it up, though, or damaged the leaves in any way, it exuded a sweet herbal aroma. I became convinced that it must be some kind of herb. I was wrong. It was Galium asprellum, or rough bedstraw. Back when mattresses were stuffed with hay, this was often used, but the stems have little hairs, which become prickly when the plant is dry, hence the name. I did find that it has some medicinal uses, specifically calming symptoms a friend of mine with a chronic condition experiences. I offered her some. If it helps, I'll keep growing it.

At this point, I was still uprooting unwanted plants. I would have to decide before the next phase whether I was going to continue working around the plants I was keeping, or if it would be better to transplant them. That's a story for another day.

Tuesday, August 5, 2014

Building the Potato Condo: Part Two - The Assembly

By the time I finished preparing and laying out all the pieces of the potato condo, I had already accumulated all the tools I needed.

Here's the full list:

  • Hand Saw
  • Jigsaw
  • Oscillating Power Sander
  • Drill
  • Wood Screws

Now it was time to start putting everything together. I began with the sides. There were two beams of the first pallet that had broken in half the long way when I was making my first fumbling attempts at pallet disassembling. I used these as the frame for the structure, and started screwing the slats into place. I made sure to drill holes for the screws first, to avoid cracking the wood, as well as making the job easier.

Here you can see the front in progress, and then from the back once I completed the side. I made sure that the bottom was level, but decided the top didn't have to be, and the uneven line contributed to the rustic aesthetic.

When I was a kid and learning the fundamentals of building by helping my dad, he taught me some crucial sayings, including "measure twice, cut once." I didn't follow his advice this time, and I paid the price. Because I had eyeballed the majority of my measurements, not all of the slats were the exact same length. I solved this issue by cutting twice, using the jigsaw to remove any excess hanging over.

The front and back panels were completed in a similar manner, but the lengths of the slats did not have to be evened out. Instead, I decided to center them and allow the "imperfection" to become part of the design.

I attached the slats of the front and back panels to the same frame pieces that held the sides. During this phase, I had to be careful in the placement of my screws to be sure that none intersected.

Finally, on the front panel, I wanted to add a feature that would make it easy to harvest potatoes from the bottom of the container, rather than having to pull up and replant every time one was ready. I could always unscrew a few of the slats at the bottom, but I knew there was an easier way.

I used some scrap wood to attach three slats together, so that only two screws attached all three slats to the frame. This meant I could easily remove two screws, pull some potatoes, and then replace the panel. This design can easily be adapted to work with a hinge and a latch, but I didn't have any hinges lying around, and I had already made quite a few trips to the hardware store. Frankly, I was getting tired of all the driving.

Once everything was secured in place, I took the power sander to it again, just to make sure there weren't any splinters I may have missed. Structurally, the potato condo was complete at last. If I were growing outside and didn't care for any decoration, I could put it out in the yard as is and start planting. However, I did want to gloss it up a bit, and I didn't want water draining all over the floor in my basement, so I had a little bit more work to do. That's a story for another day.

Tuesday, July 29, 2014

Upcycled Plastic Bottle Hanging Planter

My husband drinks a lot of soda, and I've been known to occasionally indulge as well. We end up with a lot of 2-liter plastic bottles in our recycling. Of course, like most homesteaders, I absolutely hate waste, so I'm always looking for good ideas for how to reuse them. I came up with this particular design after seeing something similar on Pinterest using tin cans.

The construction is exceedingly simple. All you'll need are five plastic bottles, a length of yarn, scissors, and a lighter or candle flame. Start by peeling off the labels. To get off the glue residue, you can saturate it with an oil-based substance - tea tree oil works great - or use a product like Goo Gone. Then, cut the bottom five inches off each of the bottles. The cuts don't have to be perfectly even, just make sure there are no bits hanging off the edge.

Any unevenness will be smoothed out during the next step. Bring out your lighter, or light the candle, whichever you chose to use. If you're using a lighter, be sure to take breaks every twenty seconds or so to prevent it from overheating.

Hold the flame close to the cut edge, but try not to let it touch, as that will discolor the plastic. This part can take a little bit of practice, so you may want to try it first on one of the bottle's tops, unless you're planning on using that for another project (like a seedling greenhouse). When done right, the plastic will melt slightly and curl in. This makes the container look cleaner and somewhat like glass. It also gets rid of any jaggedness left after cutting.

Now it's time to hang it. For the five planters, I used a length of yarn double my arm span. I'm not a tall person, and I still had plenty of slack left over to tie it up with.

To string each planter, use the scissors to punch two holes, about an inch apart. Thread one end of the yarn through each of the holes, so the first planter hangs from the middle of the yarn.

Next, you're going to tie a square knot six to seven inches away from where the first planter connects. After the knot is tied, attach the second planter the same way you did the first. Repeat this process until all five planters hang from the yarn. The knots are used to create space between each of the planters. You can reduce or increase the distance between as you see fit. If it's less than the height of the planters themselves, you may have some difficulty getting to each one.

At this point, you have completed the initial assembly. If you want to paint them, be sure to use an oil-based paint. Paints with a water base will run when you water your plants. To achieve a stained glass look, you can mix a small amount of color with a dollop of mod podge and paint on the resulting mixture.

If you require good drainage for what you intend to plant, you can either place about two cups worth of stones at the bottom of the planters below the dirt, or you can pierce holes in the bottom of the bottles. If you're growing something like lavender that requires excellent drainage, it's not a bad idea to do both.

This is the simple version of the design. For a more high-end look, you can braid the yarn as I have done in the designs I feature on Etsy.

Tuesday, July 22, 2014

Building the Potato Condo: Part One - Reclaiming the Wood

In a new homestead, it takes some planning to figure out what you're going to plant and where. To optimize the space you have, you'll have to find the most suitable area for each type of plant, and you also have to worry about running out of space. It's not always easy to find a spot with proper amount of sun, drainage, pH, temperature, etc. One thing I was sure I wanted to grow was potatoes. A true Irish girl at heart, I love potatoes. I could eat them every day.

I decided that this would be one of the indoor plants for several reasons. First of all, this way they could produce year-round. Secondly, potatoes do great in containers. Finally, by the time the homestead was ready for planting, it was already late in the season for planting. Any outdoor crop the first year would be scant and possibly under ripe. In my online search for the needs of different potato species, I found a container known as the potato condo. I liked the idea.

The previous owners of the house had left a few pallets behind when they moved out. My first thought was that I could disassemble them in order to build my own potato condo. I put on my work gloves and glasses, and I took a hammer to the first pallet. I should mention that this was my first time attempting to dismantle a pallet, and these were very old. It didn't go as easily as I expected.

After working up a sweat hammering and prying for twenty minutes or so, I didn't have much to show for it.

The wood was rotted in places and the nails were rusty. I wasn't going to be able to hammer and pry it apart with just a hammer. My husband offered to just buy me some new lumber, but at the same time, I want to teach myself how to reclaim wood from a pallet. I would have to discard a large portion of these particular pallets due to the quality. I wasn't going to trust it to hold my food. If you haven't noticed yet, I'm pretty darn stubborn. Even if it became two separate projects, I was going to break down this pallet, and build a potato condo.

We took a trip to the hardware store, where we picked up a chisel set, a handsaw, and a large crowbar. They helped a lot. After a few days putting in an hour or two of work each, I had roughly half of the pieces laid out for the final structure. My back was starting to hurt. I didn't have sawhorses, so I was working on the floor for long stretches of time. I also realized that I was going to have to sand the wood. Some pieces were more splintery than others, but even the smoother pieces would look better after a good sanding. I just didn't have the oomph to do it all by hand. So, we took another trip to the hardware store. This time we came back with a jigsaw and a power sander.

I went right back to work, and within a couple hours, I had finished cutting the rest of the pieces I needed and I was ready to start buffing them out.

As you can see, the wood wasn't very pretty at first. I told myself that was okay, I could always stain or paint it. However, as I began buffing, the natural wood grain really began to pop and show real depth. It looked far better than I expected that it would. You can see the clear difference in the image below.

Because I had used two pallets of different ages, that had been stored separately and expressed different amounts of wear, the color still wasn't uniform. I still had more time to decide if I wanted to stain, or whether I wanted to keep this more rustic look. In the end, I did decide to put a coating on the wood to add some gloss to it, but I'll cover that in a minute. Once I had all my pieces, and the wood was sanded down, I still had to tackle the most important step - the assembly. I'll get to that next time.

The tools I ended up needing were the following:

  • Protective Gear - Work Gloves, Safety Goggles, and a Face Mask
  • Jigsaw
  • Hand Saw
  • Hammer
  • Oscillating Power Sander

Tuesday, July 15, 2014

Preserving Watermelon with Delicious Recipes

After our first party in the new homestead, we ended up with more food than we knew what to do with. This included two full watermelons. I am a big fan of the fruit, but there was no way I could eat both by the time they started going bad, so I would either have to find a way to preserve one, or let it go to waste. I wasn't going to allow the latter to happen.

I looked online, but most watermelon jams use the rind whites, rather than the red meat of the melon. I decided I would take some of the techniques shown and create my own experimental recipe. I think it turned out incredibly well. This recipe actually produces two byproducts. The first is a sweet, refreshing juice with a bit of zing to it. The other is a sorbet. Feel free to adapt this recipe as you see fit, and let me know how yours turns out!

What You'll Need:

  • Large pot
  • Stove
  • Strainer
  • Potato Masher or Food Processor
  • Half of a Watermelon
  • Confectioner's Sugar
  • Few Sprigs of Fresh Thyme
  • 2 Tablespoons Lemon Juice

Step One

Scoop the watermelon out of the rind and into the large pot. I used an ice cream scoop to make it a little less messy. Make sure to pour in all the excess liquid. Remove as many of the seeds as you can.

Step Two

Sprinkle about 1 cup of confectioner's sugar on top of the watermelon chunks. Stir in and turn the stove burner on to high. Continue stirring slowly until you start to see bubbles rising.

Step Three

Add two tablespoons of lemon juice, and a few sprigs of thyme to taste. I used fresh German Thyme because I love the smell and that's what I have growing in my kitchen. If you're using dried thyme instead, add a bit more, as drying can make it lose it's potency.

Step Four

Allow the mixture to reach a rolling boil for about five minutes, then turn it down to the point where bubbles still rise, but it is no longer churning. Pull out your potato masher. As the watermelon chunks continue to soften, mash them into a fine pulp.

Step Five

Use the strainer to filter as much of the liquid as possible into a jar, which you will then put into the fridge. Take the leftover pulp and place it in another container, which will go into the freezer for the sorbet. It may be tempting to add cream or milk to the pulp at this point, but resist the urge. Both the heat and the lemon juice will cause the milk to instantly curdle, making the entire mixture bad.

Tuesday, July 8, 2014

Preparing for a Party

When you have a homestead, especially one that's still getting off the ground, there are always a million chores that need to be done. There's far more on the daily to-do list than dishes, laundry, and feeding the animals. Many tasks are projects that take weeks or months to complete. Therefore, when entertaining, it's difficult to know how much needs to be finished before the big event to make the place "presentable." After all, we all want to look like Betty Homemaker once in a while.

We had hosted a few friends and family members here and there long before we were settled, but for our first party, we wanted to be able to show off the progress we had made. We also wanted the evening to be one to remember, because we were celebrating several big events. First and foremost, the festivities were for our wedding reception. It was also our housewarming, and both of our birthday parties - our birthdays are only a few weeks apart. Of course, I wanted everything to be perfect, but our homestead would not magically be further along just because we were having a big day. I had to figure out how much I could handle.

My first step was pretty obvious. I knew I had to mow the lawn, which wasn't as simple as it sounds. Getting a lawnmower in the first place turned out to be a bigger ordeal than we originally thought when buying a house. My husband kept trying to convince me to get a ride-on mower, something I've never used before, and honestly am a little intimidated by. So, we decided to start off with a self-propelled push mower. There were many other projects that kept getting first priority, so two months went by before we got a call from my mother-in-law saying she had one for us. By this point, neighbors were offering to mow our yard for us because it had gotten so long. We went to her house to pick it up. It started up just fine. Then, as Murphy's Law dictates, it stopped working as soon as we got it back home. My husband was so frustrated, he immediately went to the store to buy a brand new one.

Some parts of the lawn had grown as high as my waist, and the mower could not work through that much mulch quickly or easily. I spent eleven hours mowing that day, with a few food and hydration breaks thrown in there. When it was all said and done, the place looked infinitely better. Even the flowers looked prettier without all the weeds in the way.

The next big problem was the poison ivy. There was a lot of it around the edges of the property, and it was encroaching on the yard. There were even a few sprouts around the porch stairs. We called a professional in an attempt to get it removed, but he wouldn't be available until after our event. Unfortunately, the task was too big to accomplish by ourselves in time, so we opted for a compromise. My husband and sister, who don't have the severe reaction to poison ivy that I do, teamed up to clear the sprouts that were coming up in the interior of the yard space. Guests would have to be careful if they ventured too far out, but the area around the festivities would be clear.

I also wanted to get some more weeding done for aesthetic purposes. We have some decorative stone areas around the front porch and one of the trees in our front yard, where grass poking up had started to obscure the rock, and I just wanted to show off a cleaner look. I kept working around the poison ivy until I could get my husband or sister's help with that spot, and then I would go back and finish. It was tedious work, but I got a lot done. I was very happy with the results.

Finally, all that was left was generic cleaning indoors. I cleared out as much clutter as I could, wiped down surfaces, and swept up. We rented tables and chairs for the day, and set up a buffet and stereo outdoors. We had some citronella-filled tiki torches to keep the mosquitoes away, and the carefully selected guests did the rest. Despite all my stress leading up to the event, it turns out that the best parties come from the people in attendance. Everything went off without a hitch.

We did end up with far too much food at the end of the day, and we struggled to figure out what to do with it all before it went bad. That's a story for another time.

Tuesday, July 1, 2014

The Dreaded Poison Ivy

I am ridiculously allergic to poison ivy. When I was a child, I got it a few times and wound up with blisters the size of ping-pong balls. One time, my eye swelled shut. After that, I was old enough to identify it for myself and stay far, far away. One of my parents would clear it from our suburban yard if it ever popped up, and when I went on walks through the woods, I would wear jeans anyway, to prevent scratches or bug bites (especially ticks). For many years, I didn't really have to worry about it.

We bought the property at the end of March. We first checked it out during the winter, and there was still some snow on the ground when we signed the paperwork. When it all melted and the growth of spring got under way, I was in for a big surprise.

It was more poison ivy than I had ever seen before in my life. There was a vine - more like a branch - that was wider than my thumb. It was appalling. And, of course, it was creeping to even more places rapidly. I really didn't know what to do. I needed it gone, and I had never done it myself. As usual in times of uncertainty, I turned to the all-knowing internet for solutions.

The simplest answer I found was to use herbicide to kill it. That way, I wouldn't have to actually touch the plant. However, I dislike using environmentally harmful chemicals, and the poison ivy would be back next year with greater vengeance. Judging by the large spray container left behind in the basement by the previous owner, this is probably what they were doing, and why it was able to get so out of hand. To do the job right for the sake of future years, I was going to have to find a way to get the roots up.

My husband suggested hiring someone right off the bat, but I'm too stubborn for my own good. A big part of the reason we bought this property was our dreams of self-sufficiency, so I was determined to take care of the land myself. Sometimes, it's a better idea to ask for help. Despite fervent protests from my husband, I put on some gloves and attempted to tackle the job personally.

It was a bad idea.

I managed to virtually incapacitate myself for nearly a week. Even with my attempts to protect myself from the plant's oils, a rash began to cover my arms, my legs, my stomach, my face - it was showing up everywhere, but my forearms were the worst. I'm not going to post pictures. It was pretty gross. I was unable to perform basic tasks without agony. Calamine lotion wasn't even dulling the itch.

What did help to accelerate the healing process was baking soda. I mixed it with water to form a paste, then smeared it over the affected areas and let it dry and flake off. By drying out the used lymph fluid, it made blisters less likely to burst, and encouraged new immune cells to flood the area. I won't lie, it stung like you wouldn't believe, but it got me better faster.

Once I recovered, I was back at square one. I had hardly made a dent with my foolhardy attempt at pulling by hand. There was still poison ivy everywhere. I took another look into natural solutions.

Goats eat poison ivy. Its oils actually affect very few species. Humans are unlucky enough to be one of them. Goats not only have no reaction, but they also find it delicious. We're not yet set up for livestock, but there are rent-a-goat services out there for this very purpose. Unfortunately, none were close enough to us.

Our final solution was to hire someone for this year, in spite of my obstinance. We are considering goats for the future still, but first we need a fence and an enclosure. Those are stories for another day.

Tuesday, June 24, 2014

Upcycled Plastic Flower Pot

Those of you who know me from elsewhere already know that fiber arts are a big part of my life. I am constantly knitting and crocheting, and I have a huge passion for ethical angora. I'm always looking for new projects, and share many of my original patterns on Ravelry.

This project is one of my more useful innovations. As a former apartment gardener, I can always use more plant containers, and with a new foster bunny in the house, I needed to get more greens growing. I decided to solve the problem with my current fiber obsession - plarn. Plarn is a type of plastic yarn that is easy to make at home out of old shopping bags. For those of you unfamiliar with the process, you can check out my YouTube tutorial video below.

For this project, you'll need plastic shopping bags, scissors, a size H crochet hook, and a food-safe epoxy of your choosing (I chose non-toxic hot glue). I use roughly seven shopping bags per flower pot. They're a good size for kitchen herbs with a 4-inch diameter and a depth of 3.5 inches.

CROCHET PATTERN


Create Magic Loop
Row 1:SC 8 in loop
Row 2:2 SC in each stitch around
Row 3:*SC, 2 SC in next stitch. Repeat from * around.
Row 4:*SC in next 2 stitches, 2 SC in next stitch. Repeat from * around.
Row 5:*SC in next 3 stitches, 2 SC in next stitch. Repeat from * around.
Row 6:*SC in next 4 stitches, 2 SC in next stitch. Repeat from * around.
Row 7:*SC in next 5 stitches, 2 SC in next stitch. Repeat from * around.
Row 8:SC around, working in back loops only.
Row 9:SC around.
Repeat Row 9 until the desired depth has been achieved.

Now, because it's crocheted, there are still holes in the sides that need to be closed up. They're less problematic on the bottom, where they offer drainage, but it's less ideal to have water and soil coming out the sides of the pot. At first, I tried using several different kinds of food-safe paints and sealants, but nothing did quite what I was looking for. I found that the best solution was to add an interior lining. Using the discarded bag handles and the chosen epoxy, apply a layer of plastic to the interior walls of the pot.

If you're going to be using the planting containers inside, you'll want to protect your surfaces from water damage. If you're lazy, it's easy enough to put a sheet of plastic beneath the container, or you can use plarn with the same technique to make a base!

BASE PATTERN


Create Magic Loop
Row 1:SC 8 in loop
Row 2:2 SC in each stitch around
Row 3:*SC, 2 SC in next stitch. Repeat from * around.
Row 4:*SC in next 2 stitches, 2 SC in next stitch. Repeat from * around.
Row 5:*SC in next 3 stitches, 2 SC in next stitch. Repeat from * around.
Row 6:*SC in next 4 stitches, 2 SC in next stitch. Repeat from * around.
Row 7:*SC in next 5 stitches, 2 SC in next stitch. Repeat from * around.
Row 8:*SC in next 6 stitches, 2 SC in next stitch. Repeat from * around.
Row 9:*SC in next 7 stitches, 2 SC in next stitch. Repeat from * around.
Row 10:SC around, working in back loops only.
Rows 11 - 15:SC around.

Once that's complete, bring the epoxy back out to cover the base with plastic from the bag handles, the same way you covered the interior of the pot. Feel free to overlap, almost like you're working with paper mache. Alternatively, you could use mod podge to decoupage the base, but that may be difficult with the textured surface. I haven't tried it yet.

Finally, you have the option to add color. Sometimes I enjoy the aesthetic of the bare plarn, but it can also be very attractive to brighten it up with some paints. You'll want to avoid any water-based paints, as these will break down and disappear as you water the plant. Instead, opt for an oil paint.

Friday, June 20, 2014

Reclaiming the Planter Box: Part One

I've always been somewhat ambivalent about planter boxes. When I was growing up, I never saw the point. I always figured you could just dig a hole anywhere in the yard and plant. When I lived down in New Orleans, I tore an older one out of the small yard I had to make space for a fire pit instead. However, as I've delved into the pros and cons, I've come to the conclusion that a planter box would be incredibly beneficial to our homestead, creating a perfect place to grow outdoor vegetables. Therefore, when we uncovered an ancient one in our back yard, I became very excited, but it's going to need a lot of work.

As you can see, it's been neglected for quite some time and is very overgrown. The first step was clearing around the edges with the lawnmower and weed whacker. Then it was time to get down on my knees and get my hands dirty, pulling everything up by the roots. This is what I'm working on now, and it's been very time-consuming. Because we're still getting started, I don't have all the fancy gardening tools yet, like weeding contraptions that pull the roots up like hooks and tillers. I have my hands, a trowel, and a garden shovel. I'll still need to turn the soil and clear out any leftover roots once I've pulled up what I can.

The wood of the box itself is also questionable. A good portion of it is flaking off with age, and other parts are infested with ants, as I discovered when I sat down on one of these areas. The ant problem I plan on treating with either lemon juice or vinegar. I'm not a fan of pesticides, especially near my food. Right now, it's unclear how much of the wood will need to be completely replaced and how much can be refurbished.

Vinegar or lemon juice is going to lower the pH of the soil. I still have yet to test the soil, but I would not be surprised in the least if I found out it was deficient in some nutrients as well. I'll most likely have to mix in some kind of compost, but that's going to have to wait until I have some to use. Some sources say that it would be fine to use rabbit fertilizer without composting it, but I know that the risk of disease is lower if it is composted. I have to wonder if it matters, when there won't be any plants in the box for some time? It's probably safer to just go ahead and compost, though.

I'll keep you updated as the project progresses!

Tuesday, June 17, 2014

Getting Started

We moved into our dream house. It's a beautiful place, with lots of land. Some of my favorite plants are already thriving in the yard - rhododendron, bleeding hearts, irises, and more. It's clear that at one point someone who lived here had very similar goals as we do, but the most recent owner had other things on his mind. The house is amazing, and perfectly livable, but it's going to need a lot of work before it's a fully-functioning homestead. My husband and I have come up with lots of plans from fences to solar panels, but we can't do everything at once.

This blog is meant to share our experiences and progress as we work through these projects and turn our house into a thriving paradise. For more about who we are and what we intend to do, please check out the "About The Homestead" page.

Right now, I've been working on some of the basic yard stuff, which is a much bigger ordeal than it sounds. With nearly two acres of land, our self-propelled push lawnmower took about eleven hours to grind through our overgrown grass. Even with all of our extension cords, the weed whacker won't reach the edges of our property. There was one day where I got so frustrated, that I actually took scissors to part of the lawn. My husband keeps saying we should get a ride-on mower, and I think I'm starting to agree, although I have never used one before.

My next project is to reclaim the planter box in the back yard. Right now, it's completely overgrown with weeds, and the wood sides are beginning to rot. It's going to be a process for sure, but I know it will be worth it when next year comes and I'll have the perfect place to plant my vegetables. For now, everything is still in containers!